Adapting a dress sloper for the seated position
Last winter, I was invited into the Cashmerette Sloper School. I decided to try it out and see if I could adapt a dress sloper made for the standing position to a seated position. The results are thrilling!
I went with a base size 16 graded to 20 at waist and hips, with a C/D cup size, for my measurements of 45” bust, 40” waist, 50” hips when seated. I then made my first muslin and started pinning and pinning.
First, we start with vertical length adjustments (which are going to be what I needed most, as I discovered in my report paper) from shoulders to hem with the help of the balance lines included in the pattern. Then, everything that has to do with the shoulders, as the garment hangs from there (think: is it centered, is the angle right, starts and ends where wanted, etc.). After that, the bust (think: FBA, SBA, bust ease, asymmetry, bust dart well located, etc.), neckline (laying flat, etc.), bodice darts and armscye. Furthermore, we then look at the back in the same way. To continue, sleeves are examined, then the waist and tummy, hips and bum area (side seam well located?, enough ease for comfort?, skirt darts, etc.).
Let’s start with the changes I made to the bodice. First, I removed 1/2” from over the bust (higher than the armscye notch). I removed a diamond shaped dart from under the bust of 3.3” at CF tapering to 1.25” at the side seams. That made the waist dart shorter. I raised the bust dart by about 0.6" and shortened it a bit (0.6” too). I removed a dart from the armscye and curved all the darts to better fit my shape.
Front Bodice
In red there is the final pattern and in blue the original Wyman Sloper.
Let’s move to the back now. I removed 3/4” from the lower portion of the back bodice at the side seam, tapering at 1/2” at CB. I elongated the waist dart by 4”. I made a sloped shoulder adjustment of 1/4” and I shortened the shoulder by 1/2”. Then, I raised the underarm by ½”. I also introduced a curve to the CB to give me space to move (especially the wheelchair motion).
Back bodice
Let’s get a look at the sleeve now. It didn’t change much except the elbow dart moved down 3.75” and I reduce the biceps line by 0.45” on each side. I kept the length as is and the cap as is too.
Sleeve with elbow dart
Finally, we have the skirt. I tried my hand at turning the sheath skirt into an adaptive sheath skirt by removing some of the excess we have when seated. It’s not perfect yet, but it’s almost there. I wanted to try it in a regular fabric to see what it would look like first because muslin is pretty stiff. I also lengthened the darts by 2” in the front and 2.75” in the back. I also lengthened significantly the skirt in the front and back to account for the seated position.
Front and Back Skirt
The skirt is now 4 pieces in red vs the two blue pieces.
First, let’s see the original, first muslin I made. I’ll show pictures standing and seated so you can see the difference in fit. (I’m an ambulatory wheelchair user, which means I can walk a bit, but not much).


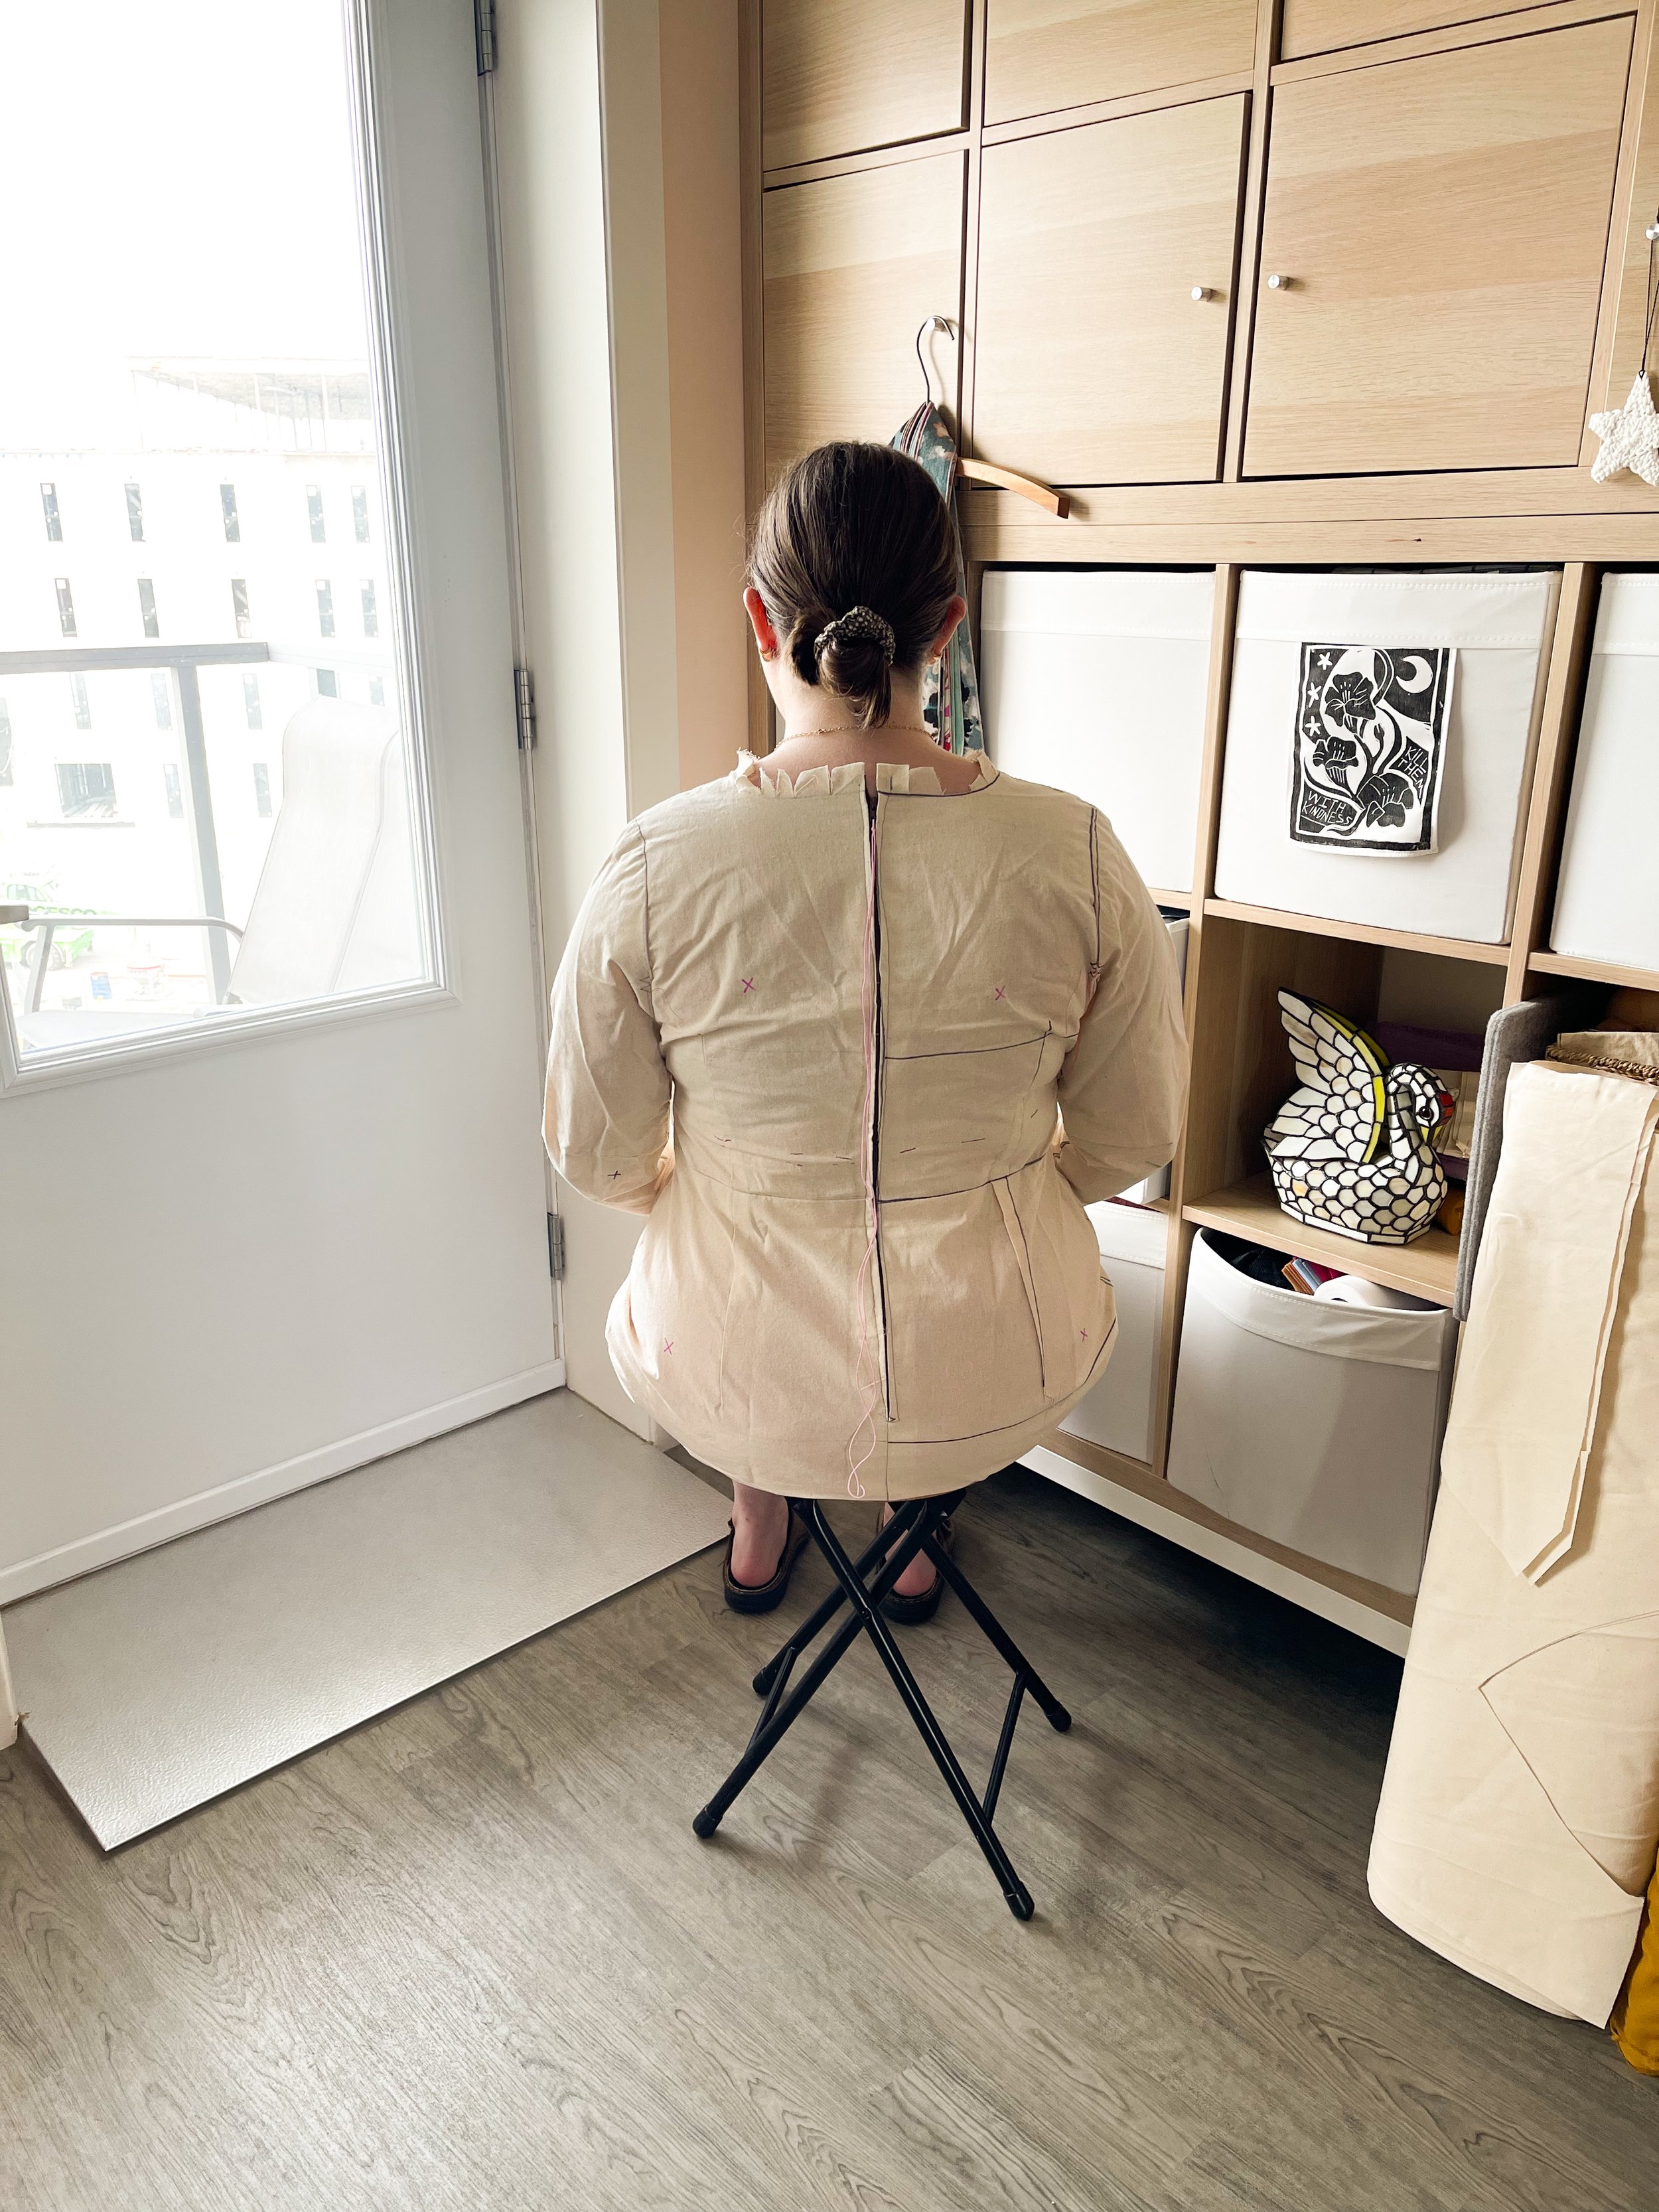


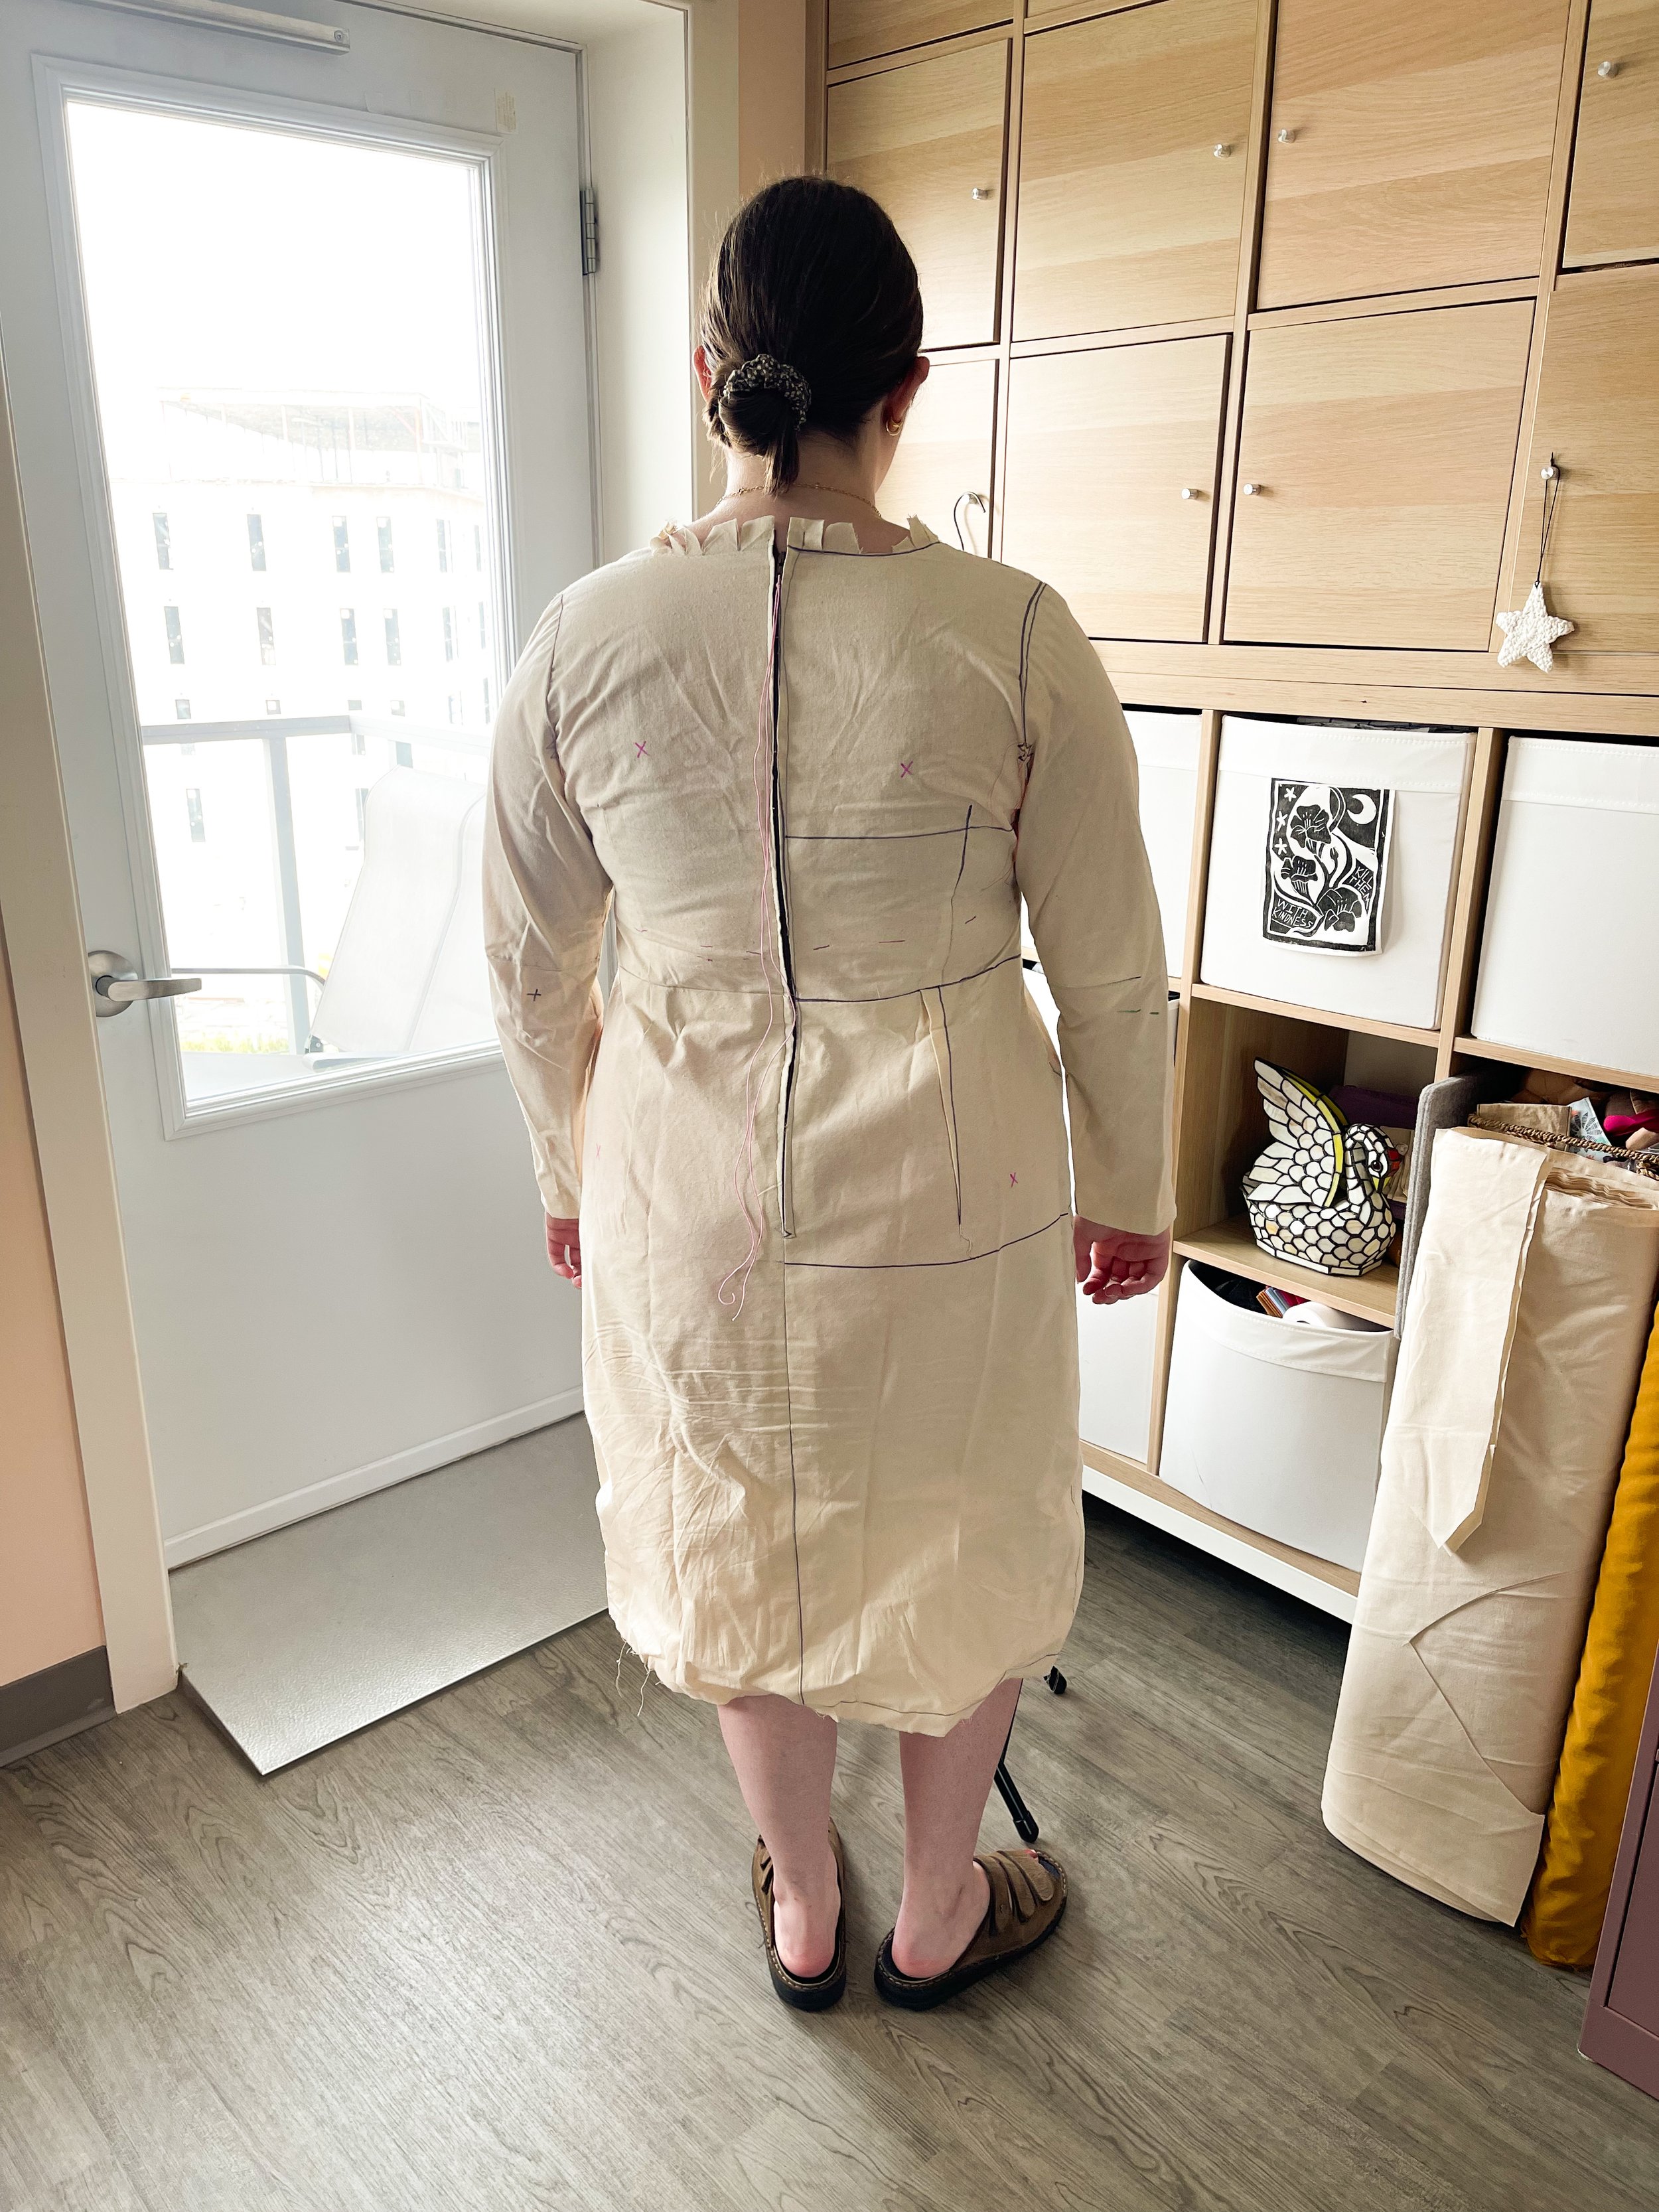
Let’s have a look at the final muslin pictures. You can see it’s no longer fitting well standing, but there’s a drastic improvement to the seated fit.

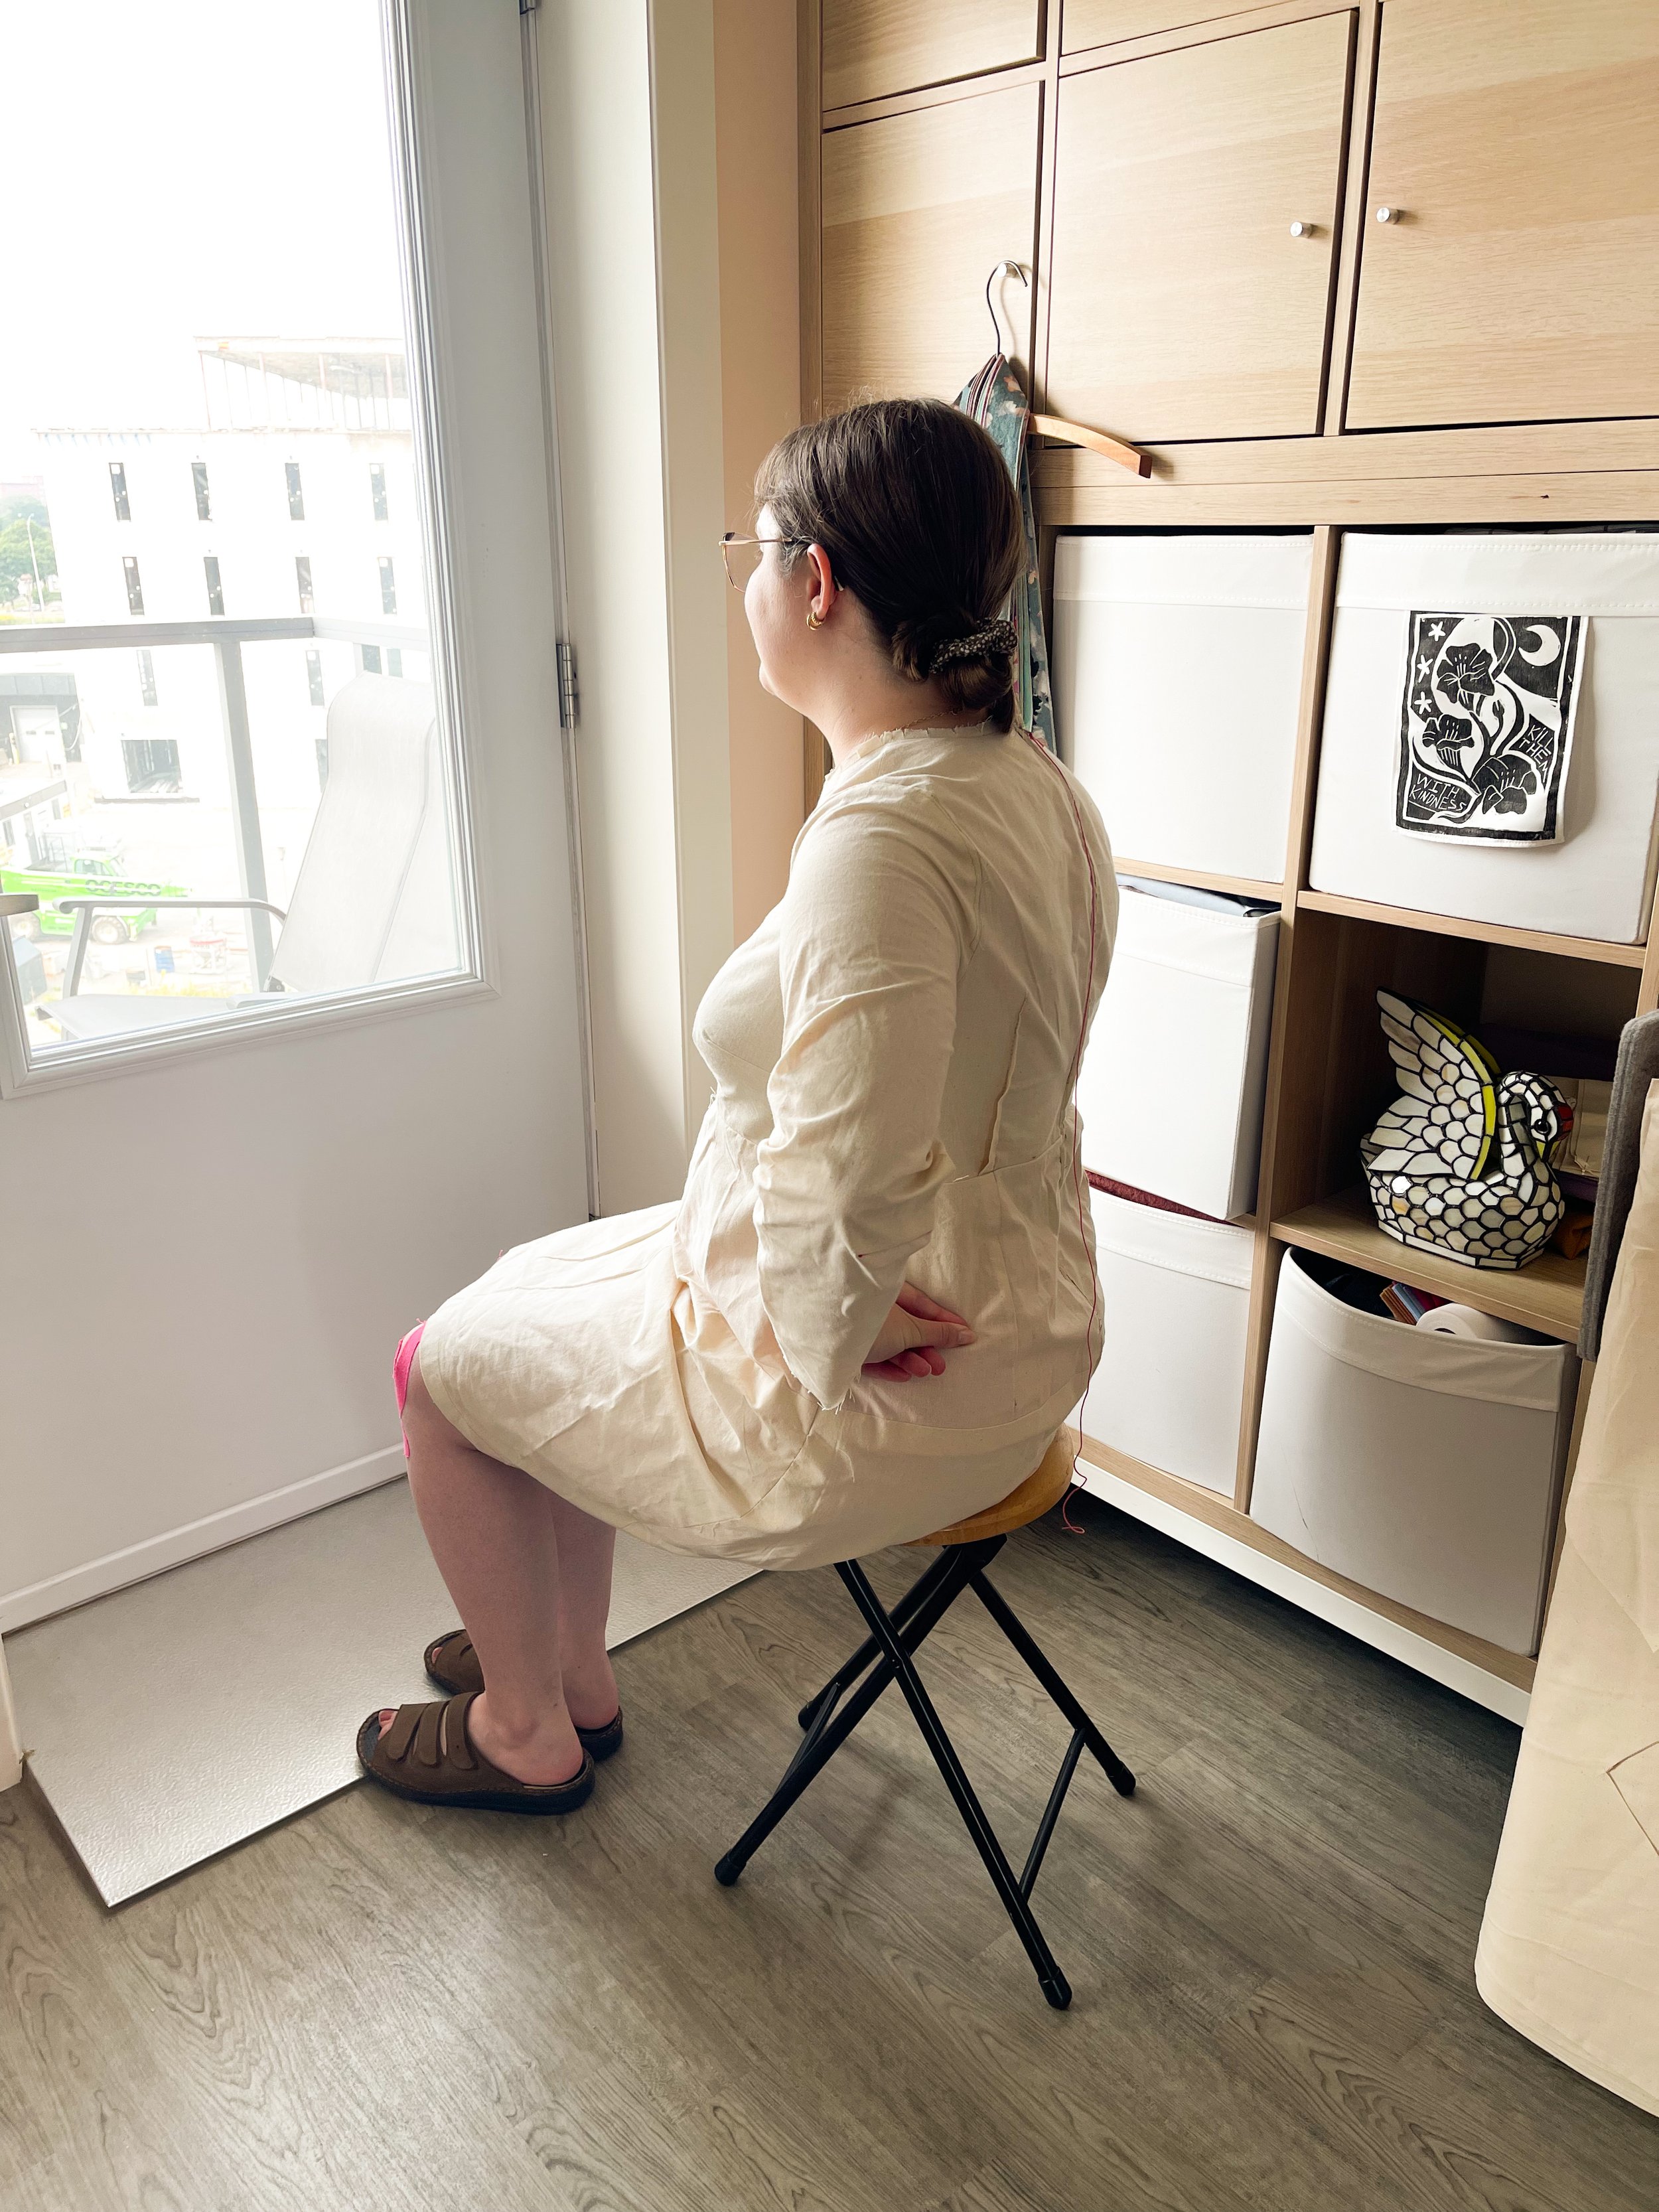
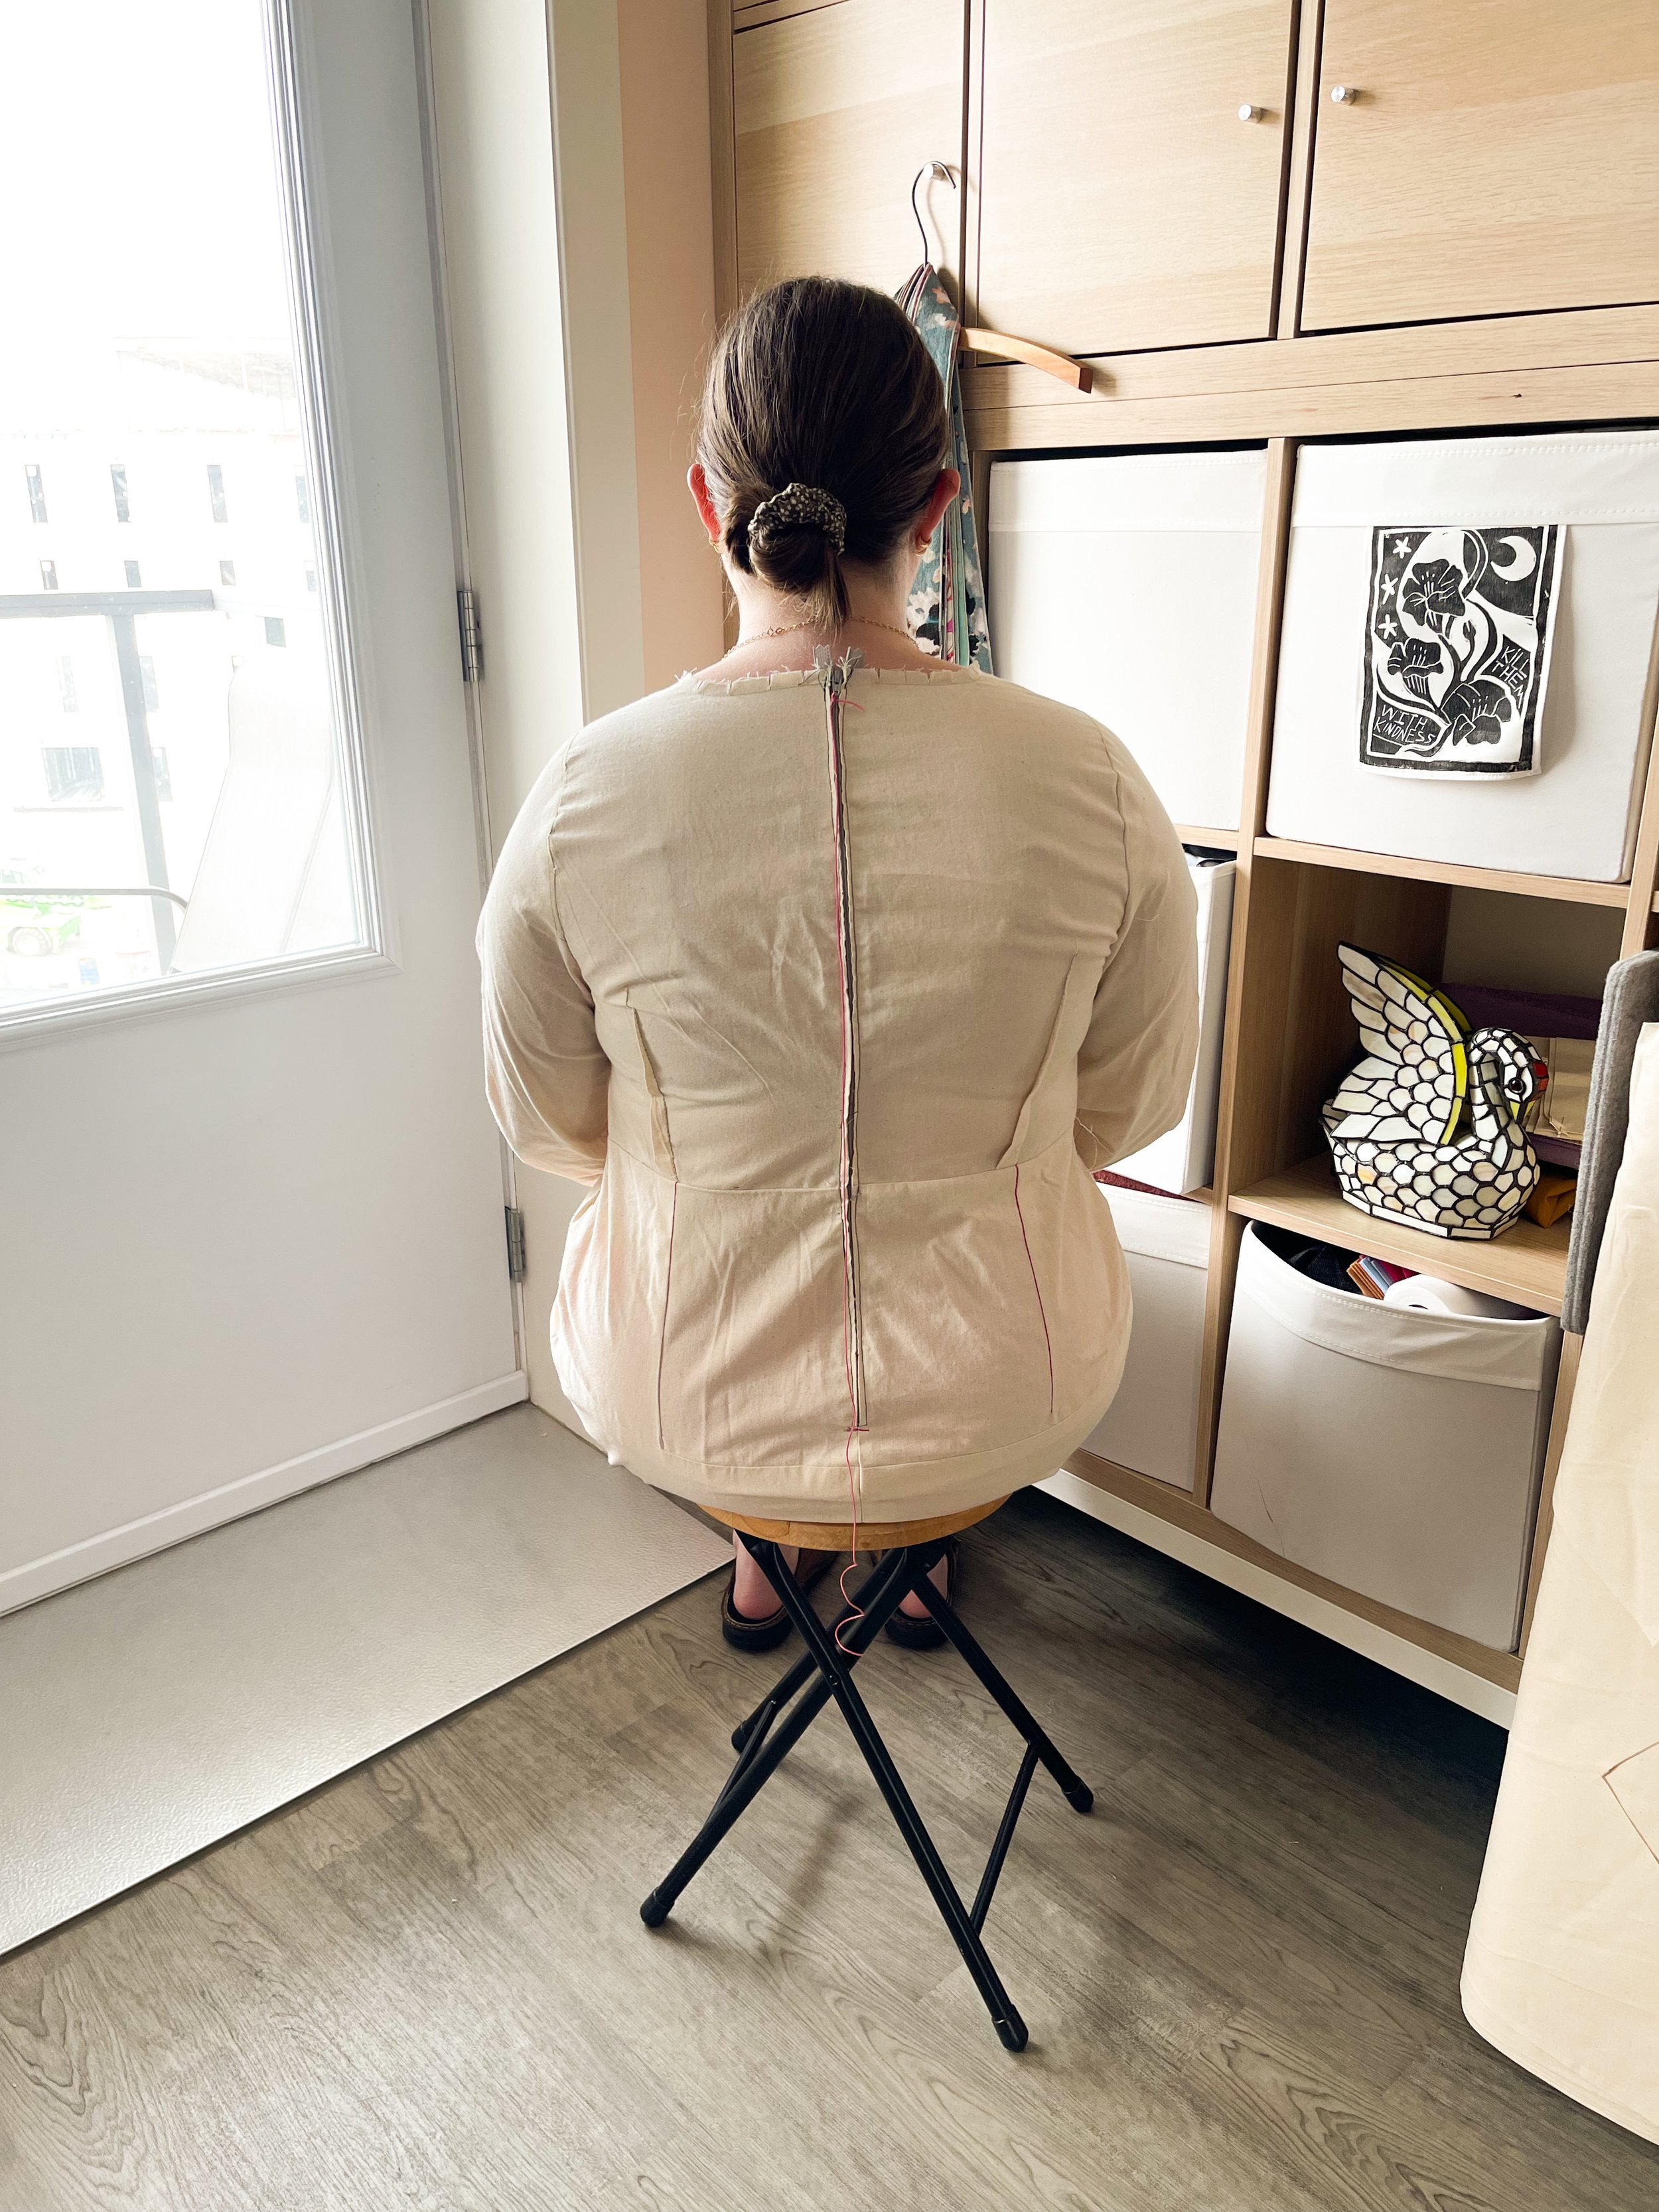

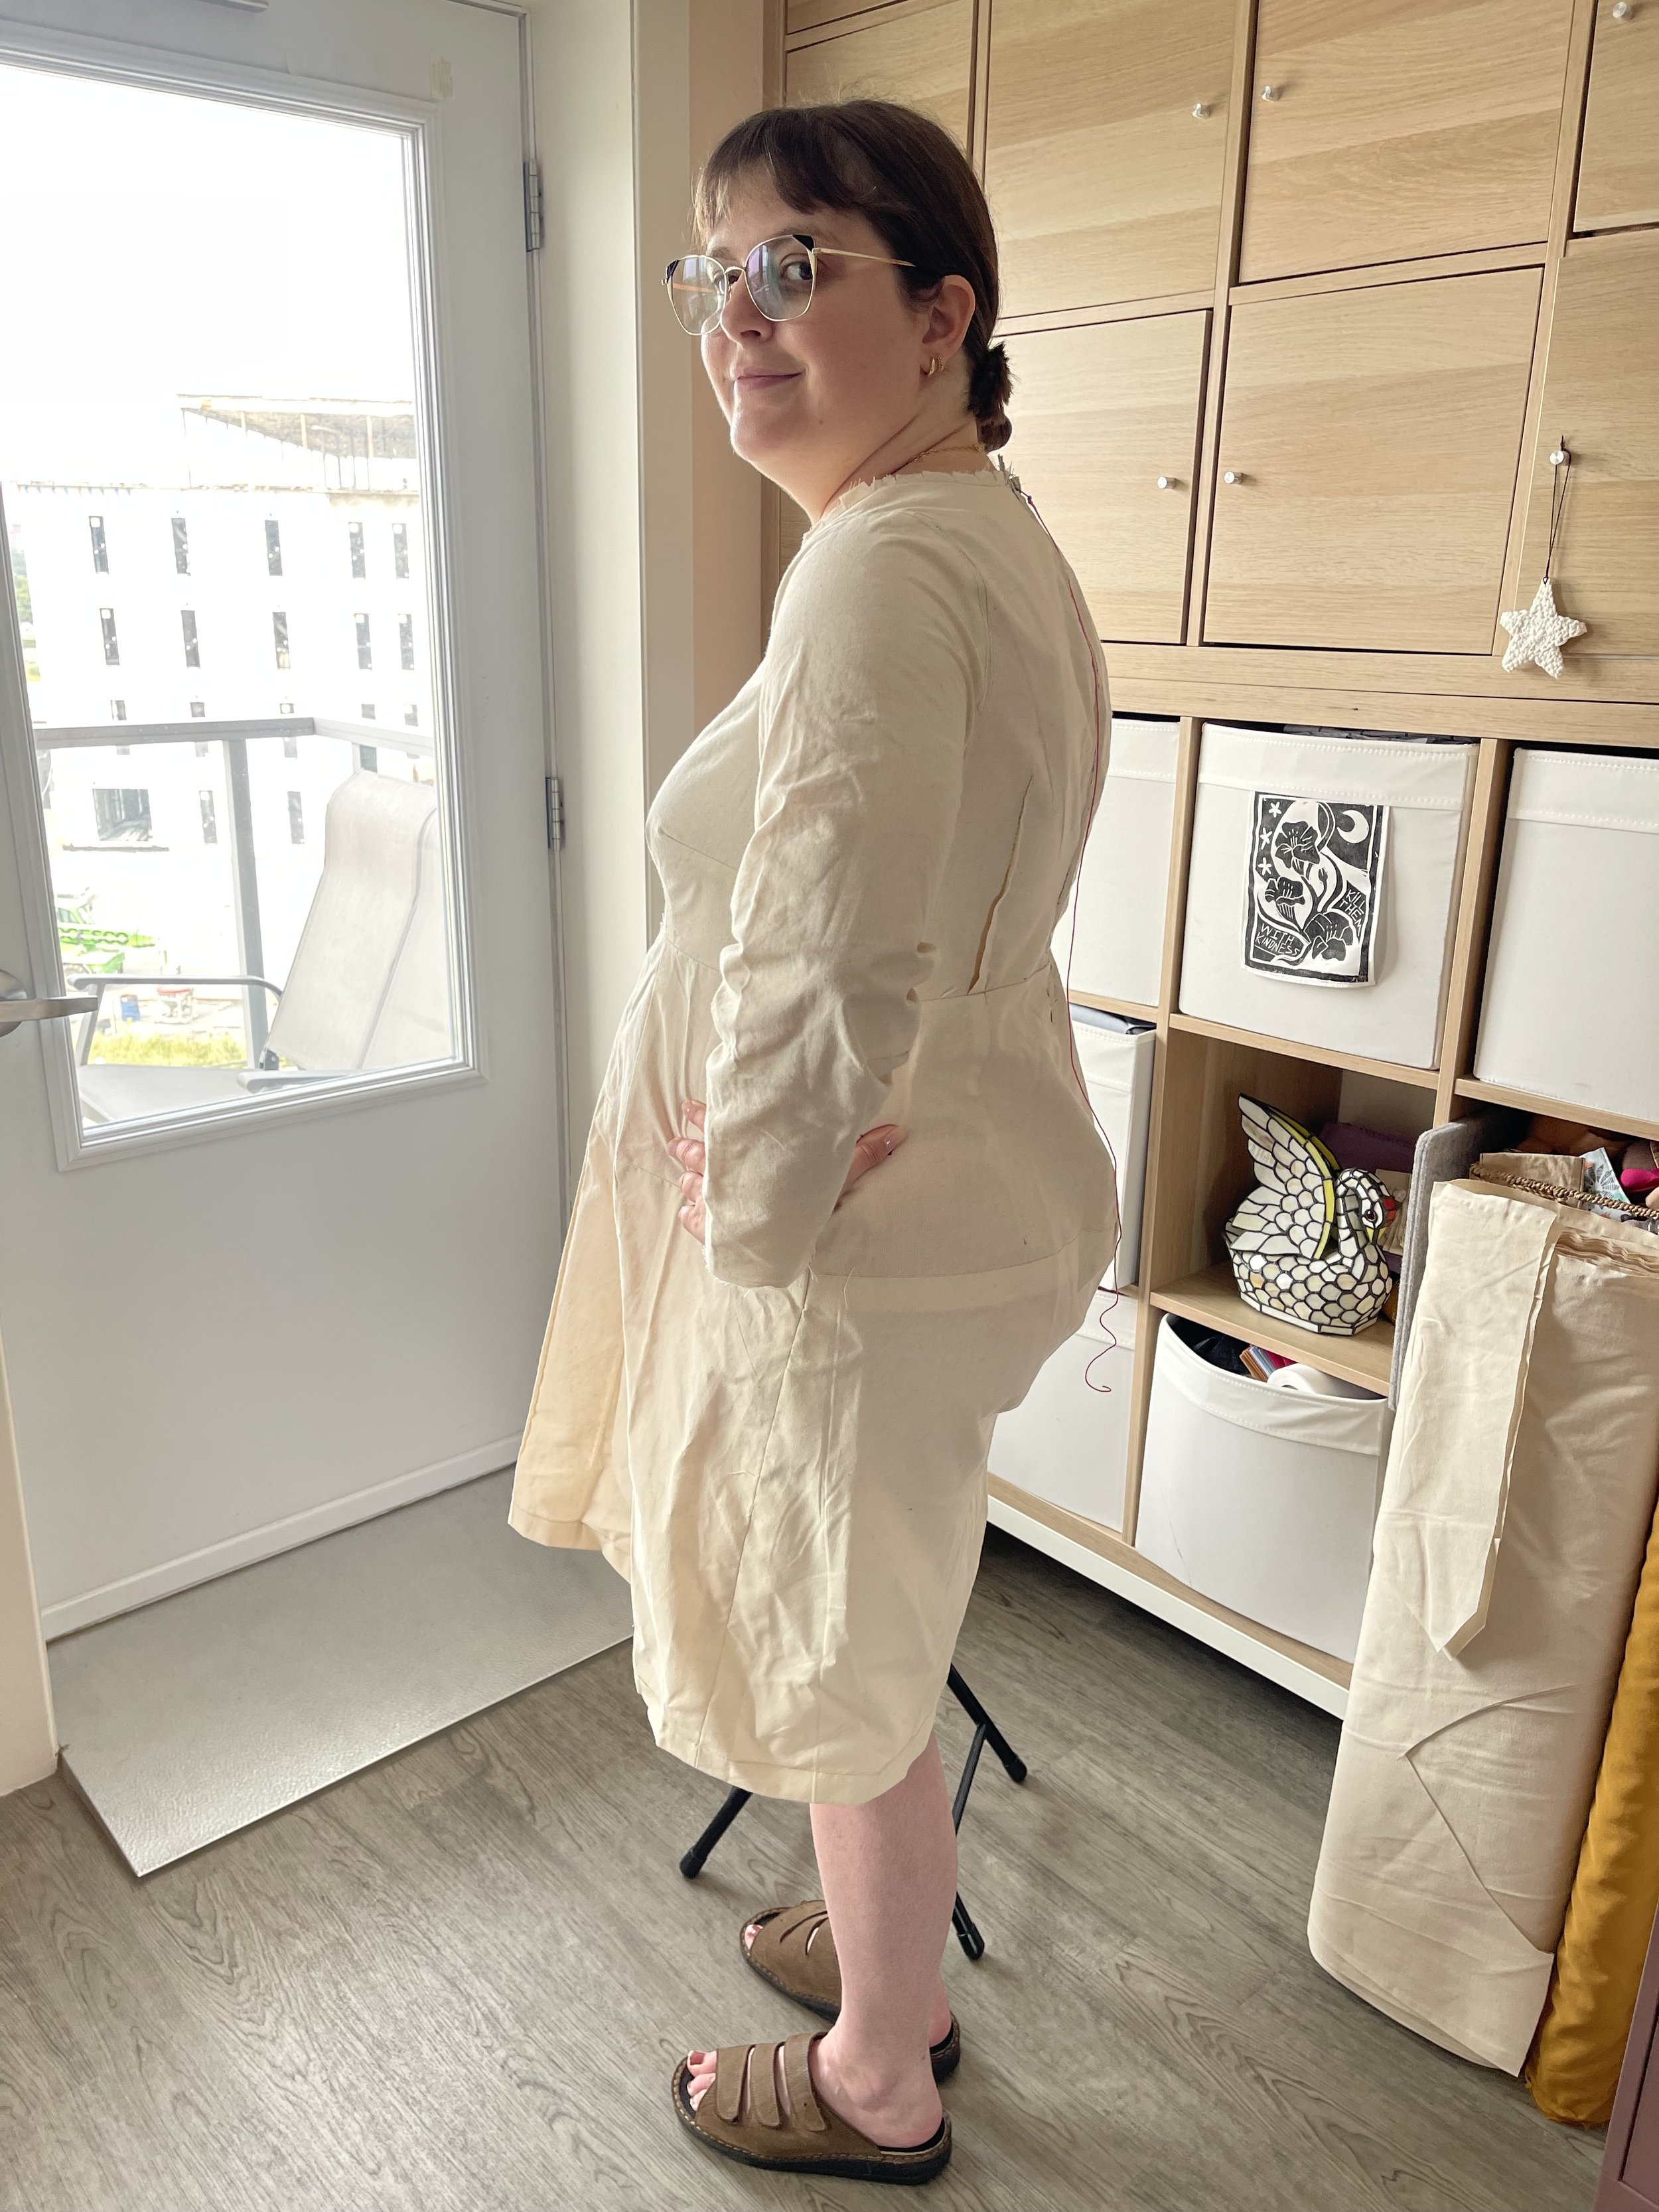
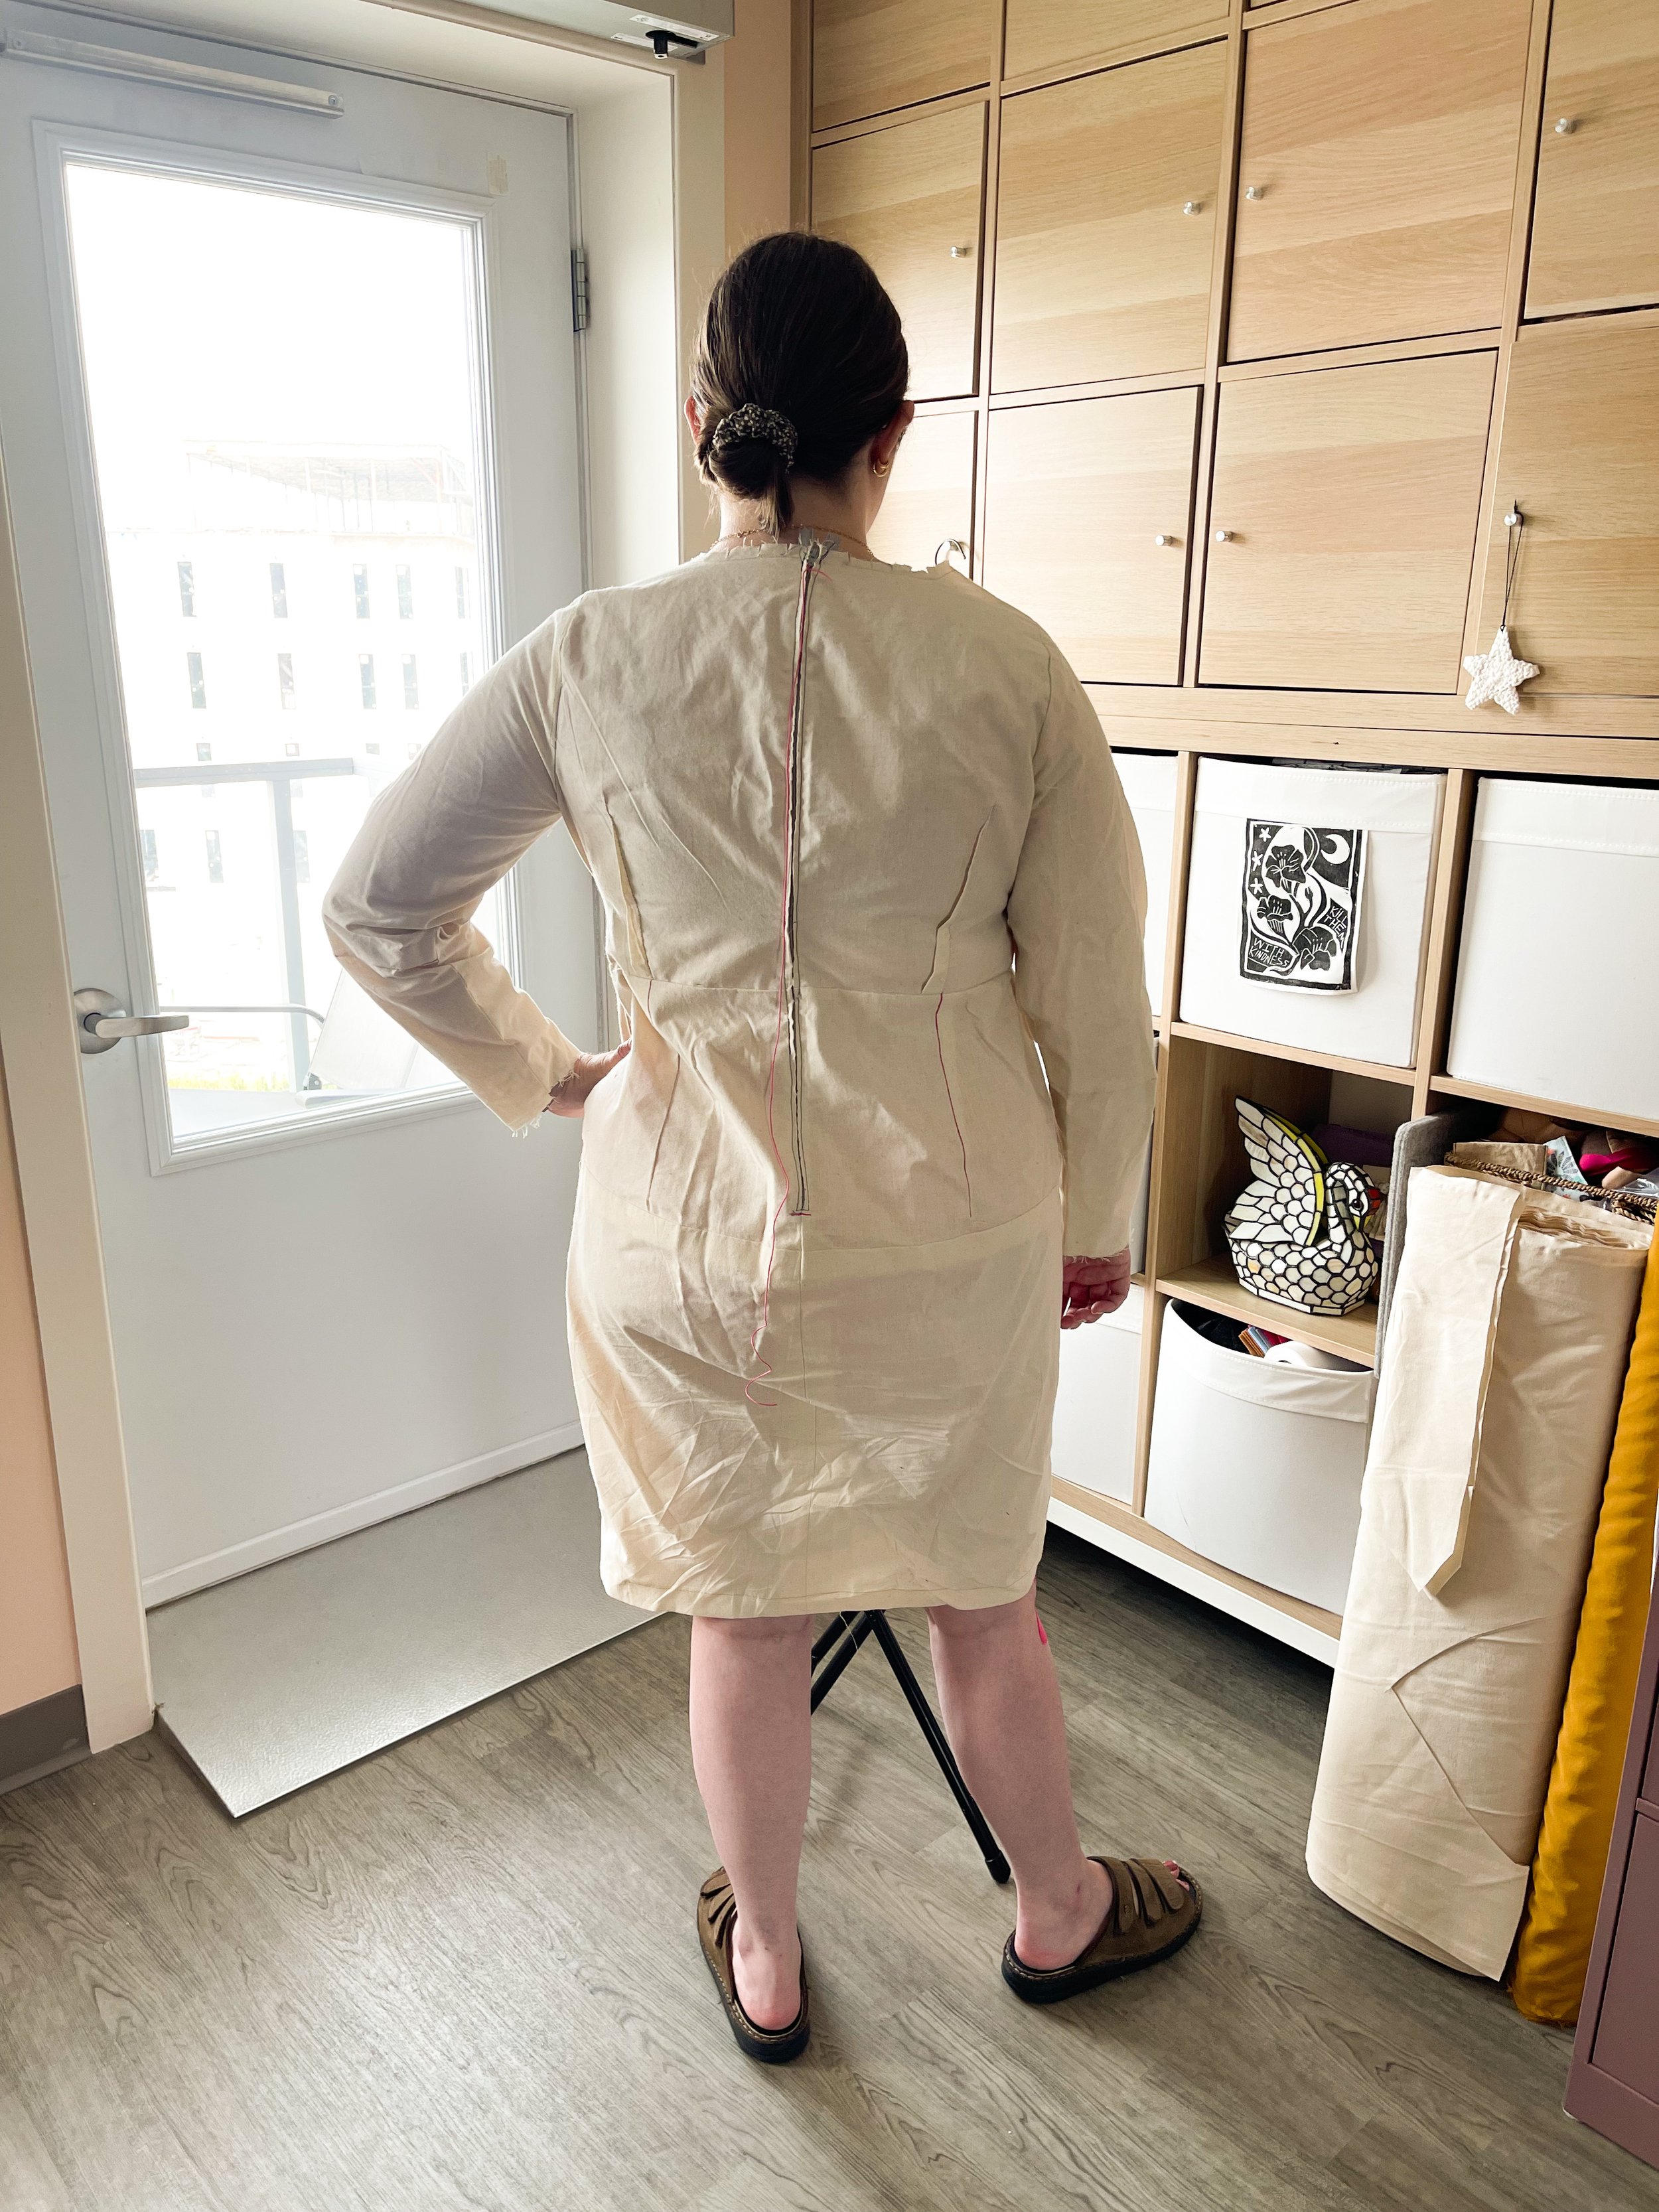
Next, I will be developping a dress pattern from this sloper. I’ll call it the Maya dress. It’ll have front and back princess seams, mid-length flutter sleeves, v-neck and the adaptive sheath skirt. I can’t wait to tell you all about it!


